Creating Your QuickTime VR Panorama
Step 2: Create the Panorama Image with Microsoft ICE
Microsoft ICE (Image Composite Editor) is the best program I've ever found to "stitch" together panoramic pictures. It can take the poorest set of pictures and figure out how to do something with them! If you don't have Microsoft ICE on your computer, you can download it here: MS ICE Download Site.
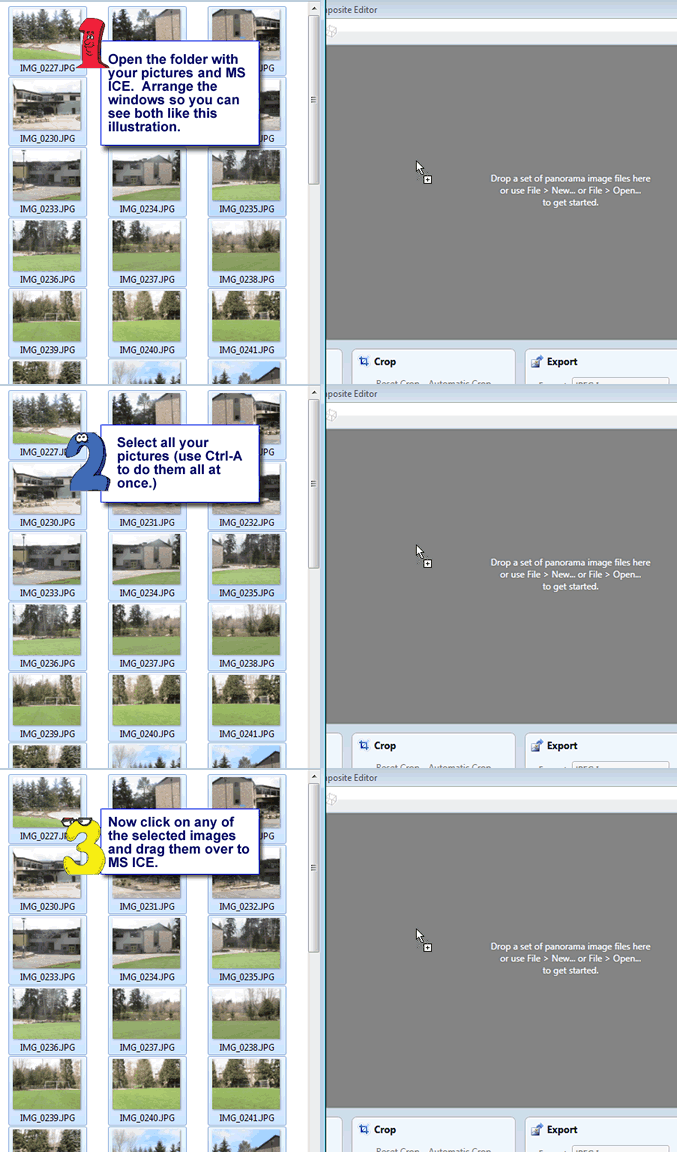
Open MS ICE (Start --> All Programs --> Microsoft ICE).
Select your pictures and drag them to the ICE window.

You'll see two messages on the screen telling you the progress ICE is making toward creating your panorama.
| First it reads the pictures in. |  |
Then it creates the panorama. These steps take a little bit of time. Be patient! |  |
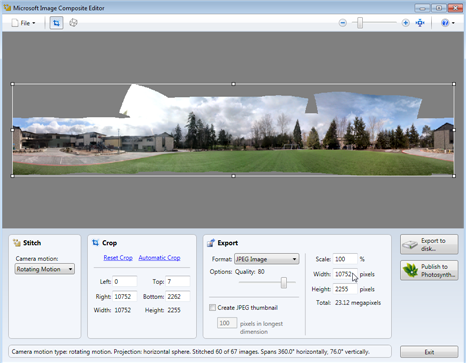
When these steps are done, you'll see the panorama image.

 Now we need to CROP the image, which means we'll cut away the areas that we don't want in our movie. The easiest way to do this is to click the Automatic Crop option.
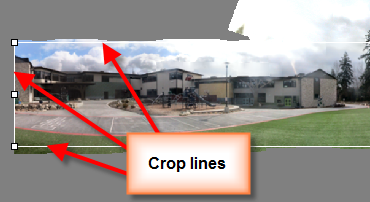
You can tell where your picture has been cropped by looking at the cropping lines.

If it crops too much, just use the handles to adjust. You'll quickly see why doing three passes (three rotations) when you take your pictures is a good thing at this step. If you only do one circle, you won't have a nice even panorama. You'll have to include many of the gray areas, which is distracting to the viewer.
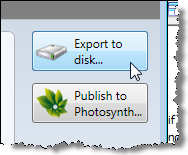
Now you are ready to export your panorama as a complete image. Click the export button and remember where you save your file and what you named it.

Last step: Creating the QuickTime VR movie. | Go back to the beginning!