How to Build a Timeline
Build your timeline one step at a time. Keep your Event Planner next to you!
-
Step 1: Start a blank slide
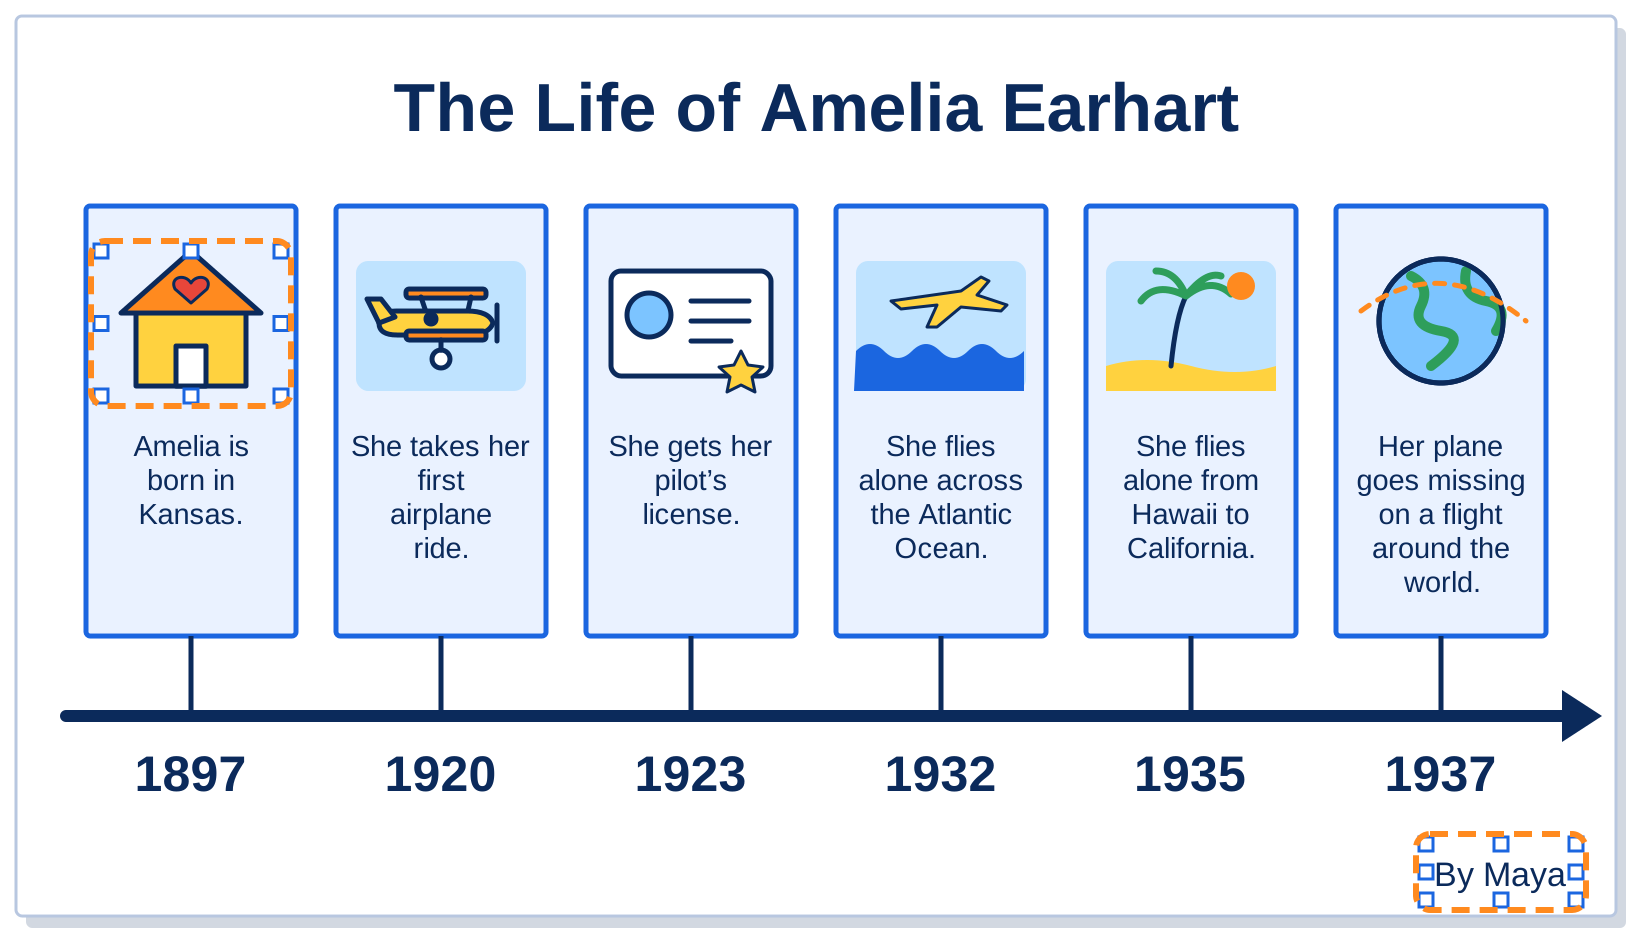
Open PowerPoint or Google Slides and start a new, blank presentation. Then change the layout to Blank.
- PowerPoint: Home, then Layout, then Blank.
- Google Slides: Slide, then Apply layout, then Blank.

-
Step 2: Add a title
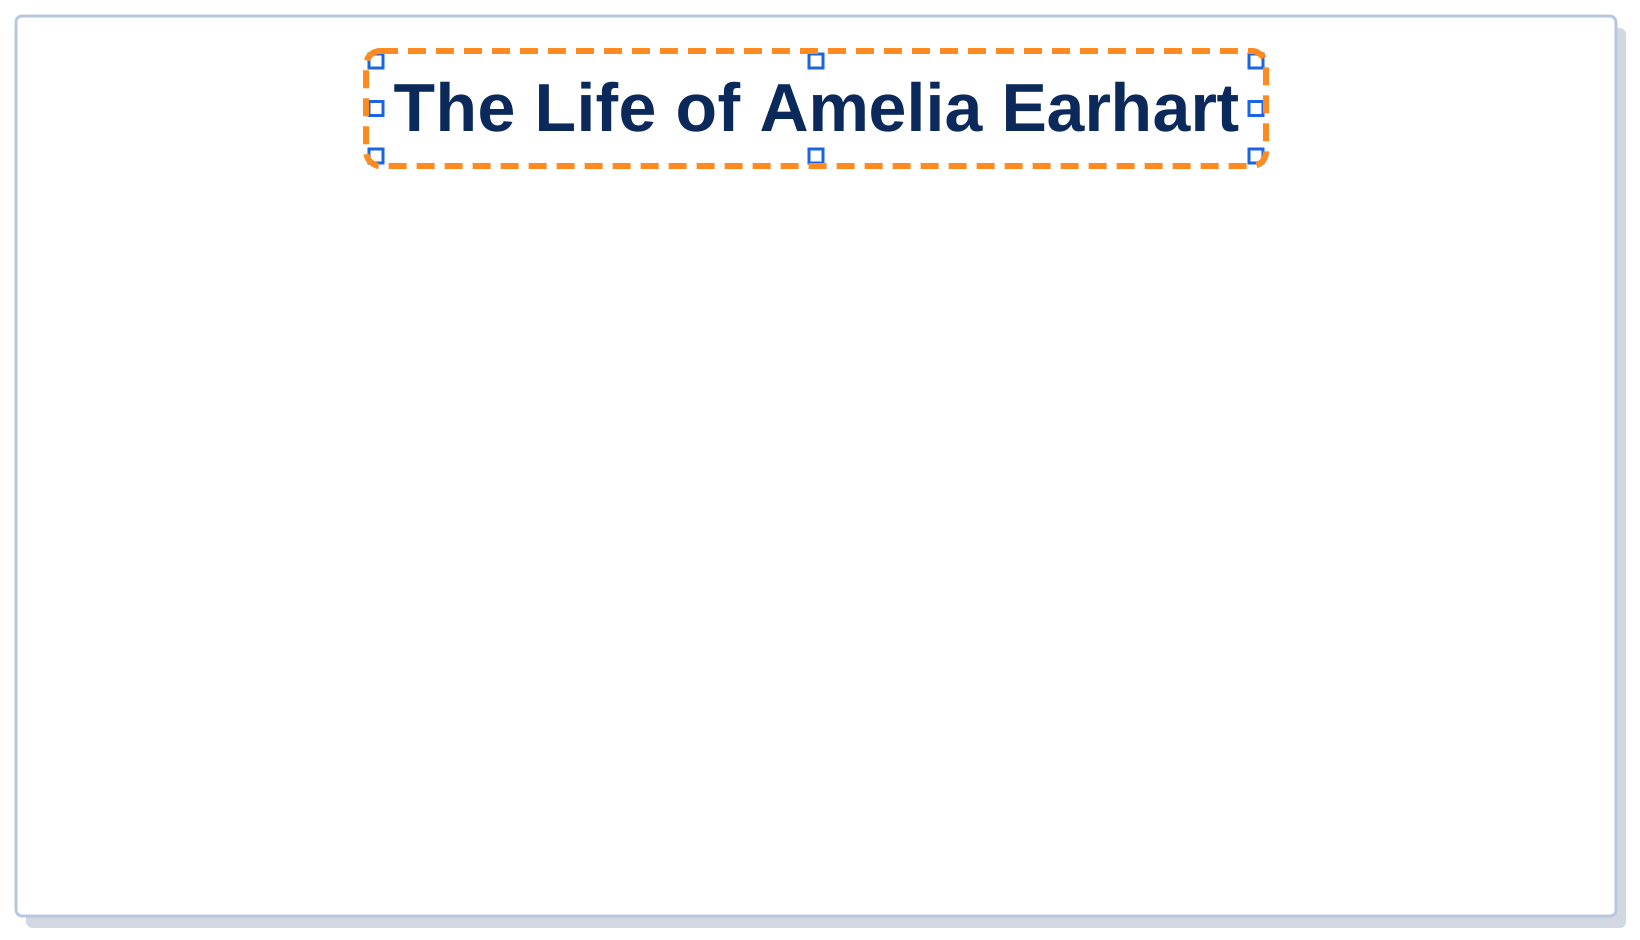
Click Insert, then Text Box. Click near the top of the slide and type The Life of, then your person’s name. Make the words big.
-
Step 3: Draw the line
Click Insert, then Shapes, and pick the line with an arrow. Hold down the Shift key while you drag. Your line stays straight!
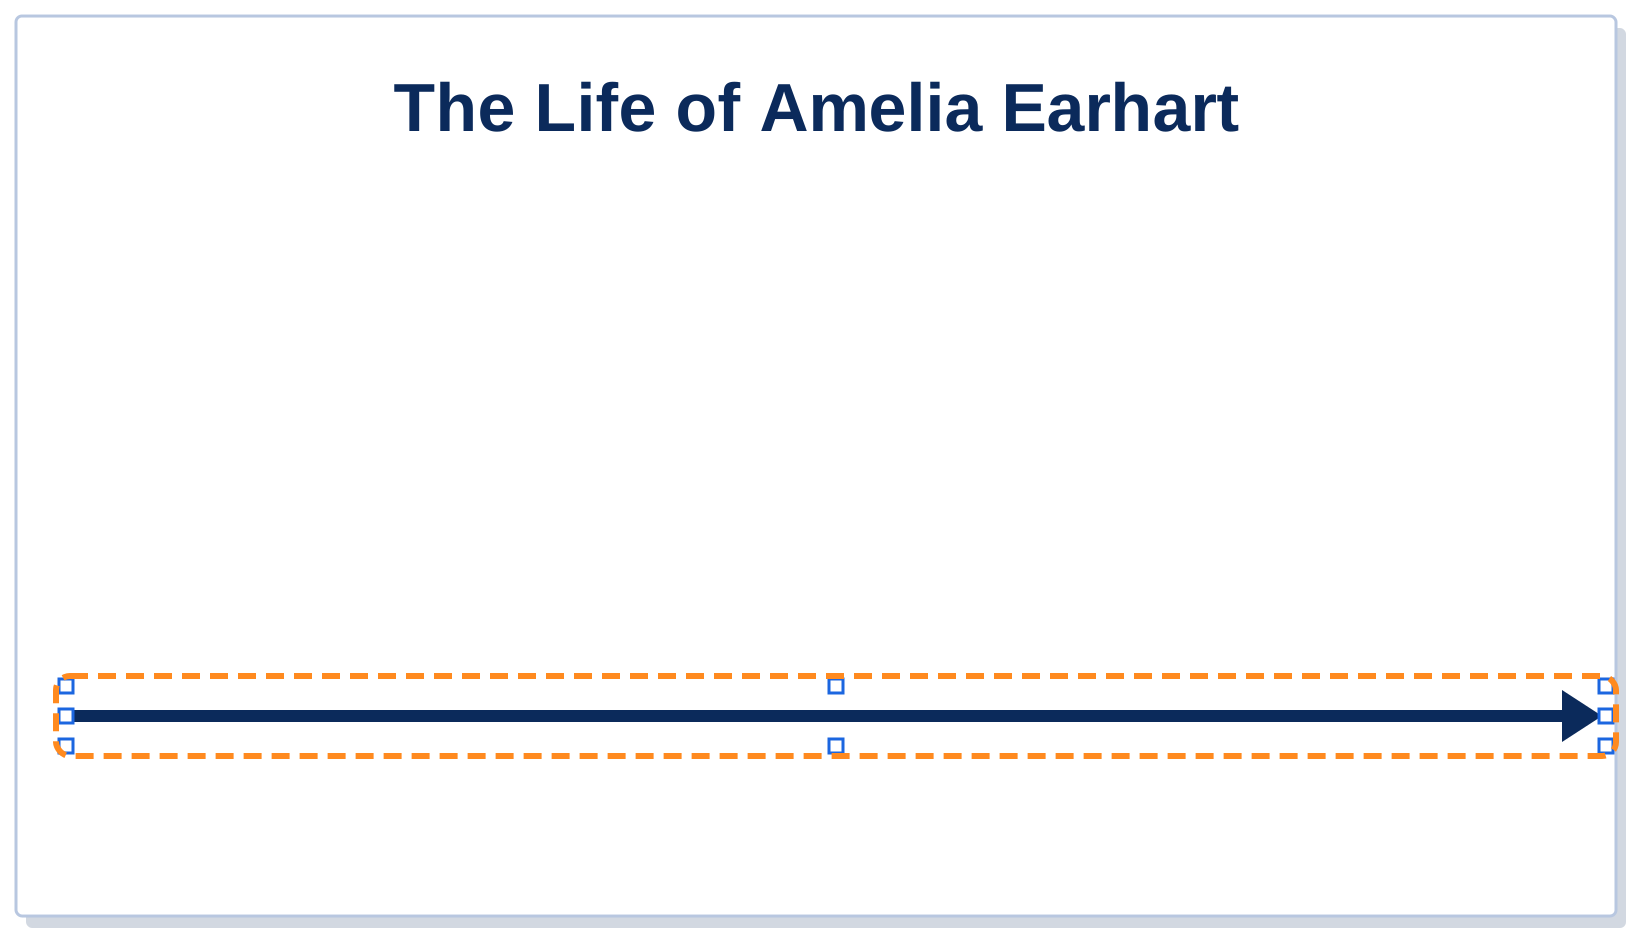
Make your line thick so it is easy to see. PowerPoint: Shape Outline, then Weight. Google Slides: the Line weight button.
-
Step 4: Draw one box
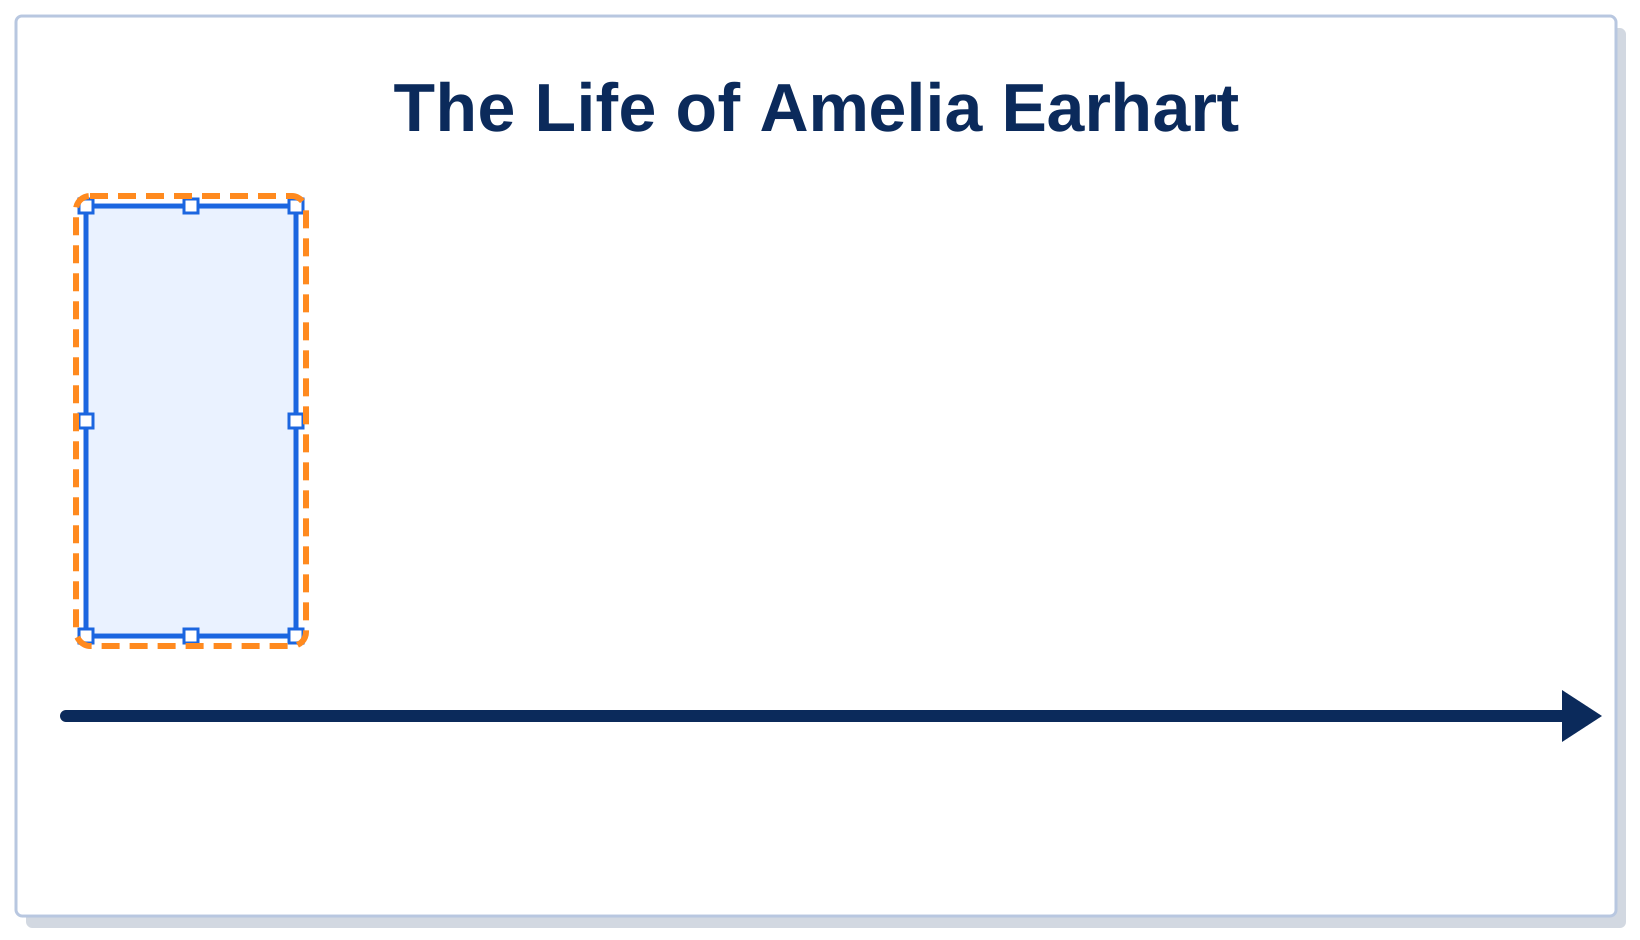
Click Insert, then Shapes, then the Rectangle. Draw one tall box above the line, on the left side.
-
Step 5: Copy and paste the box
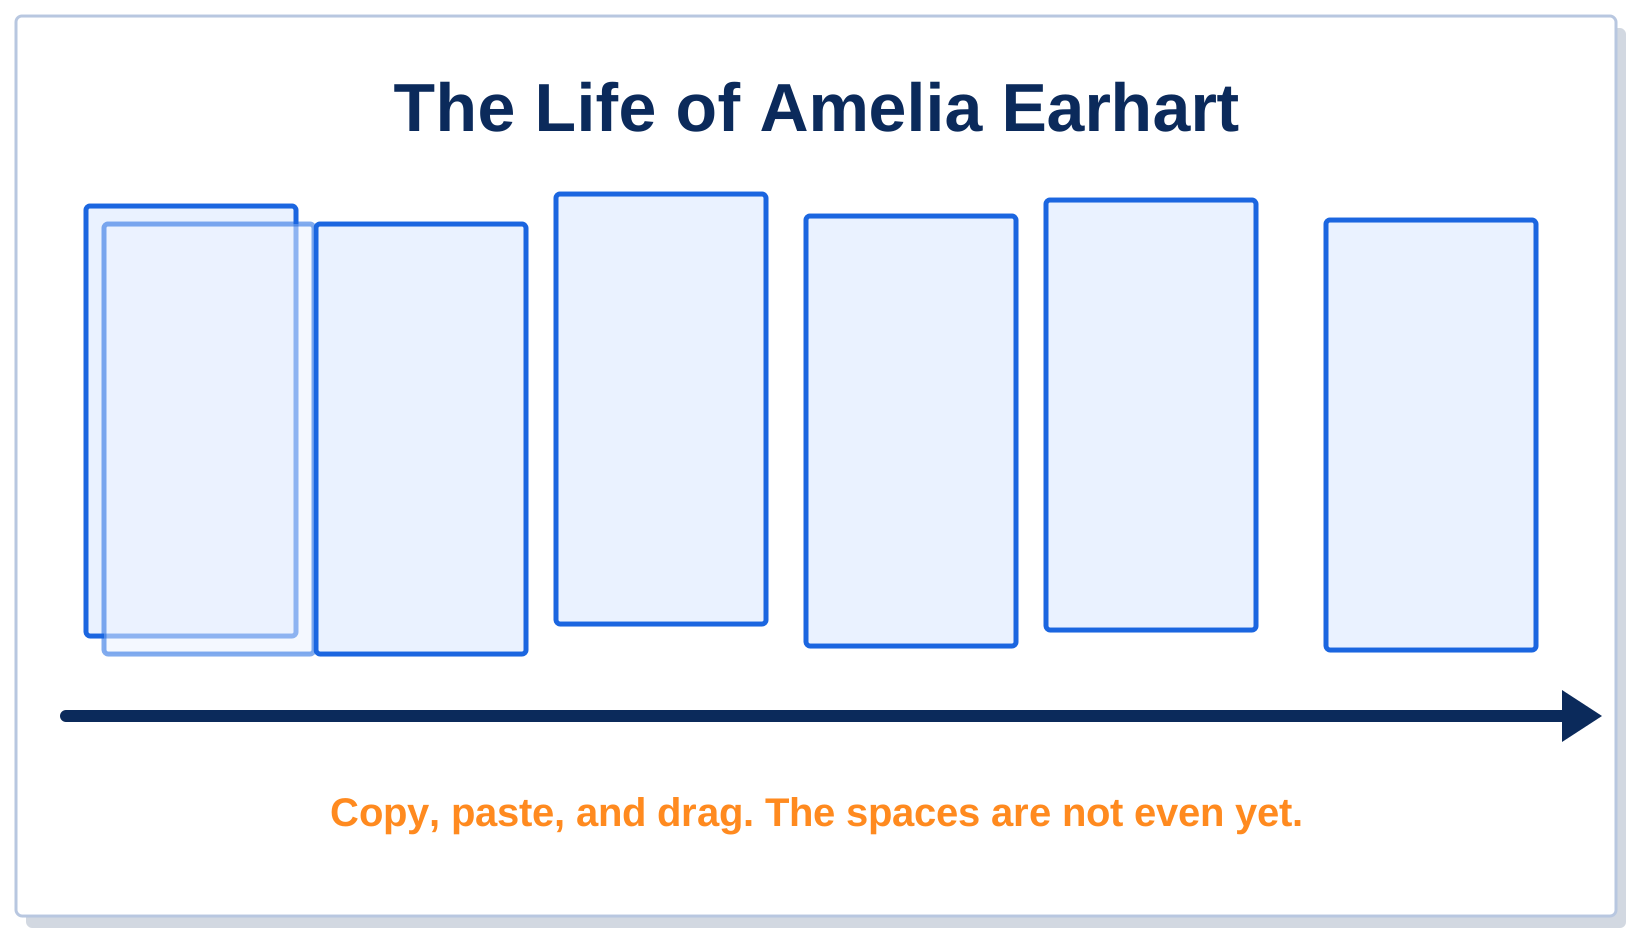
Click your box. Press Control and C to copy it. Press Control and V to paste a new box. Make one box for each event in your plan.
- On a Mac, use the Command key instead of Control.
- Drag each new box along the line. Put the last box near the end of the arrow.
Copying makes every box exactly the same size. That is the secret to a great timeline!
-
Step 6: Space the boxes evenly
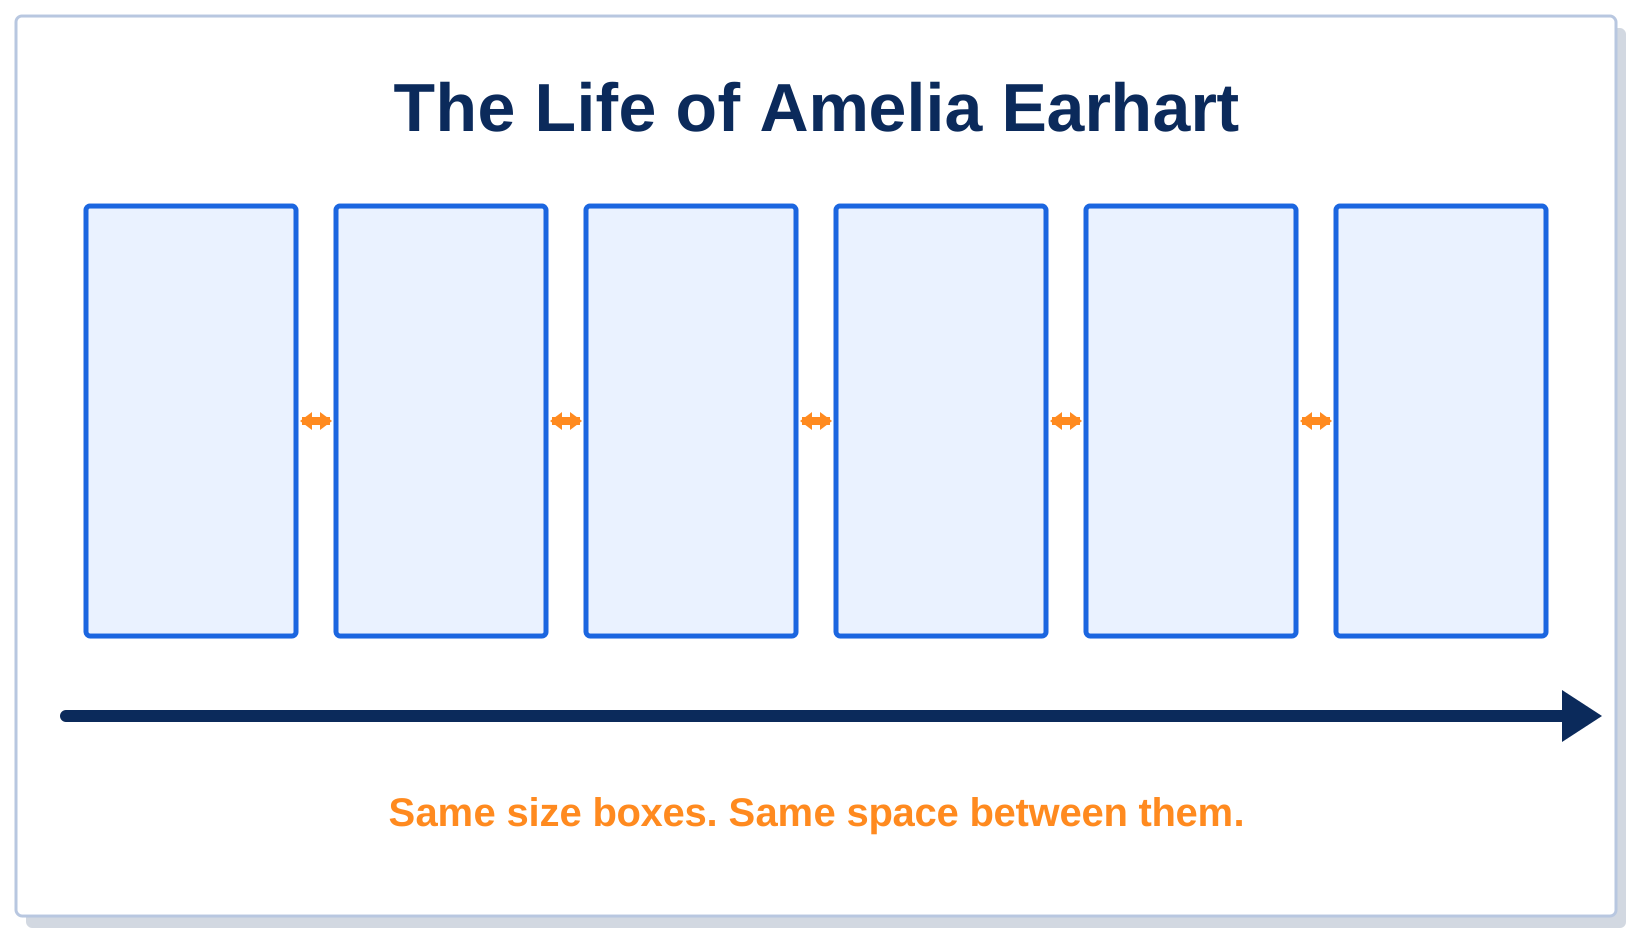
Click the first box. Hold down Shift and click every other box. Then tell the computer to space them evenly.
- PowerPoint: Shape Format, then Align, then Distribute Horizontally. Then Align Top.
- Google Slides: Arrange, then Distribute, then Horizontally. Then Arrange, Align, Top.
-
Step 7: Add the dates
Make a text box under the first box and type its year. Copy and paste it under every box, then change each year.
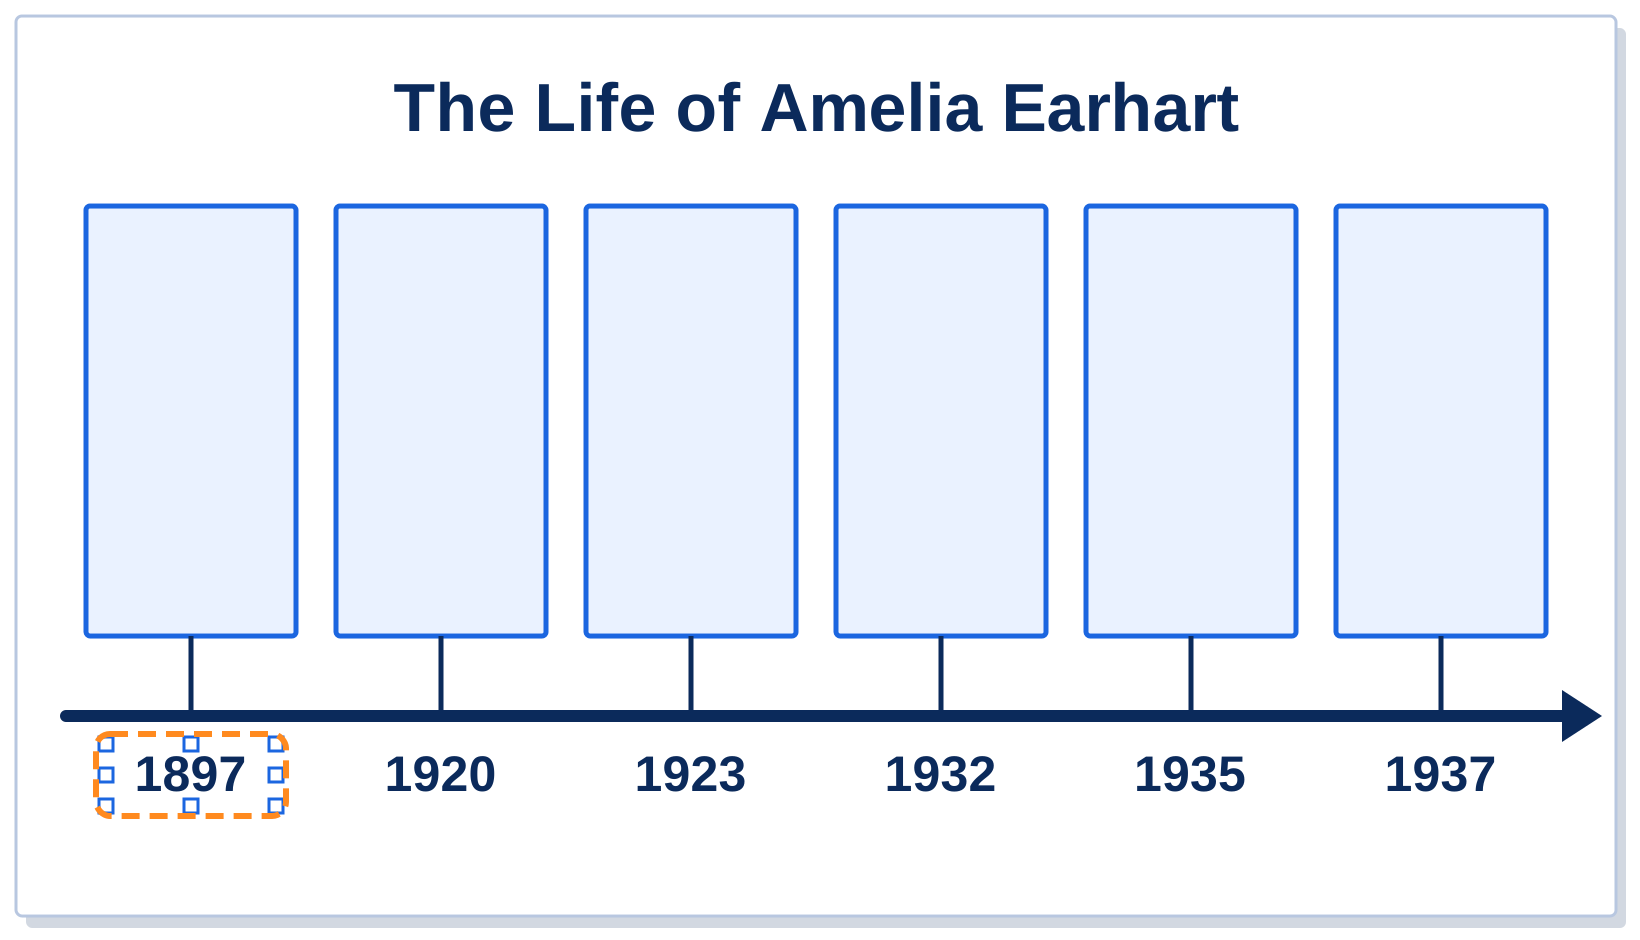
Want a little line from each box to the arrow? Draw one line, then copy and paste it.
-
Step 8: Write the events
Make a text box inside each box. Type a few words from your Event Planner. Keep it short!
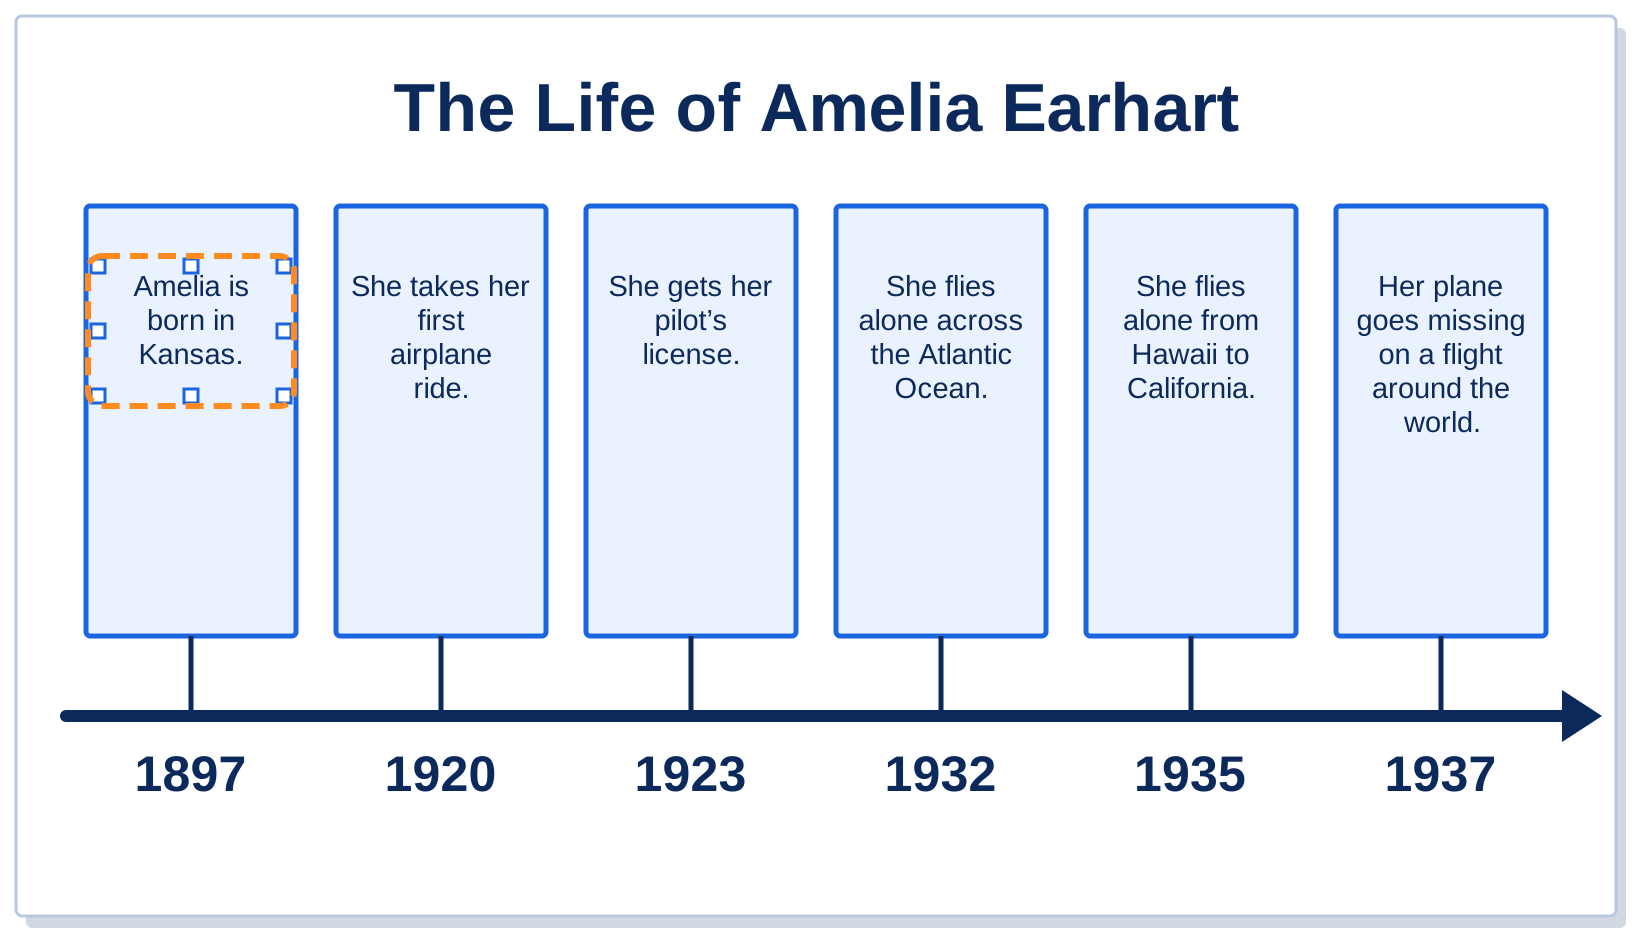
If your words do not fit, make the letters smaller, or use fewer words.
-
Step 9: Add pictures
Click Insert, then find a picture for each event. Drag a corner of the picture to make it fit in the box.
- PowerPoint: Insert, then Pictures, then Stock Images or Online Pictures.
- Google Slides: Insert, then Image, then Search the web.
- Drag a corner, not a side, so your picture does not get squished.
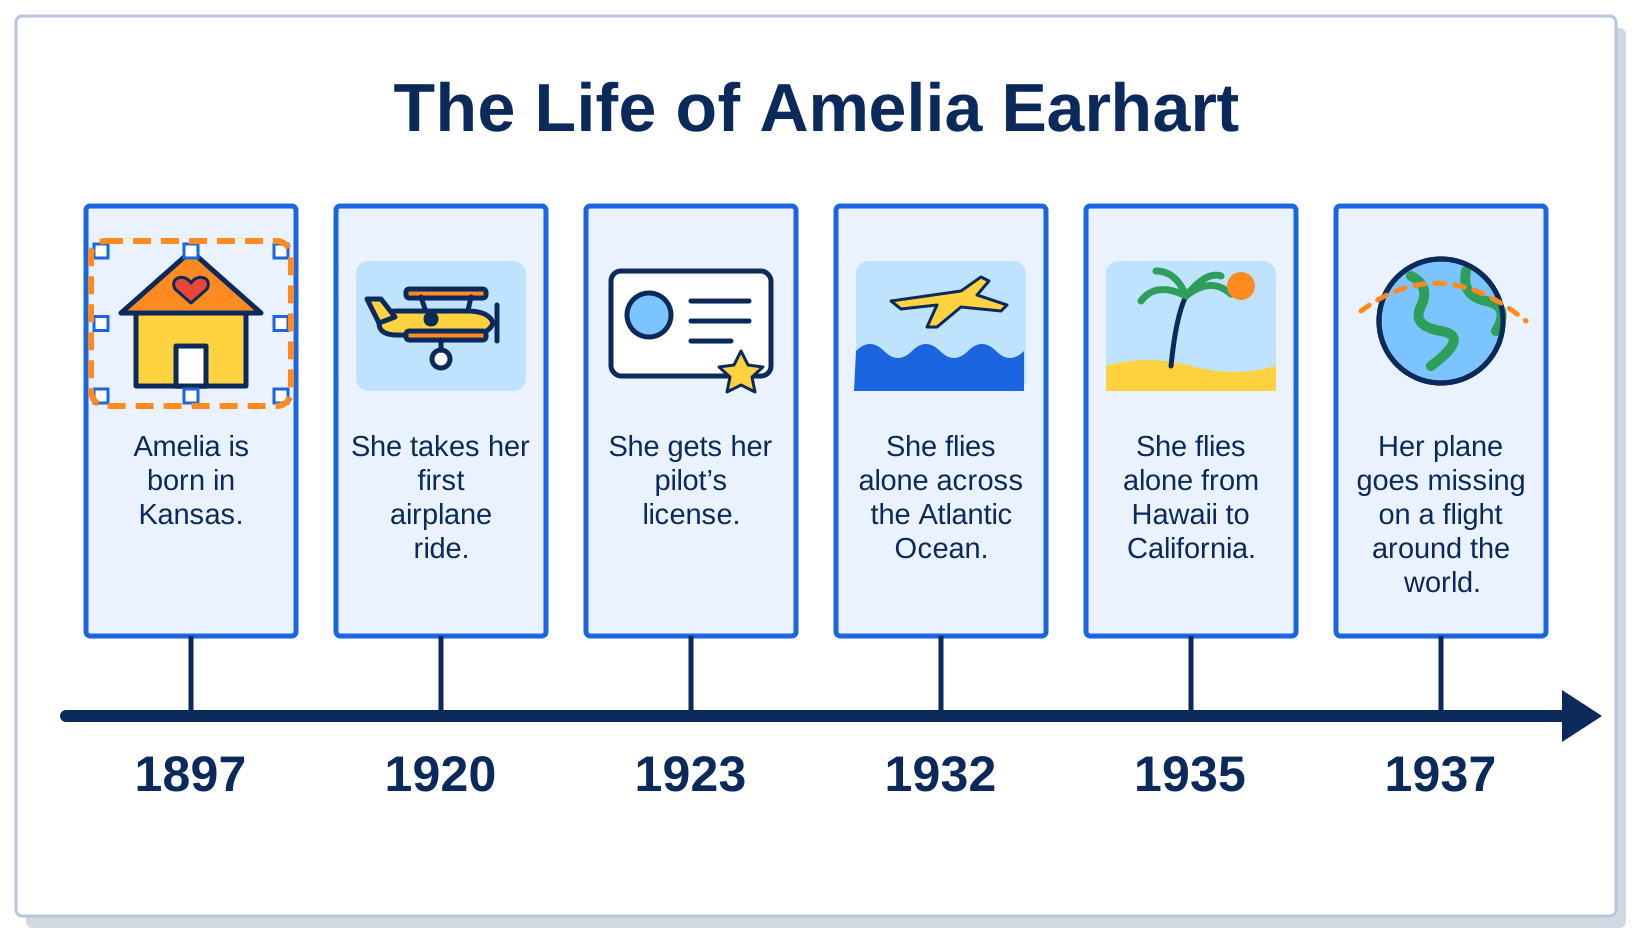
Ask a grown-up helper to help you choose your pictures.
-
Step 10: Add your name and check your work
Put your name in a corner. Then use the checklist to check your timeline. Save it with a good name, like your person’s name and your name.
Grown-ups: how did this activity go? Send us feedback
For teachers
The build follows the way the project was taught in the lab: a blank slide used as a page layout tool, one box drawn and then copied so every box is the same size, Distribute to space them evenly, and separate text boxes for the dates and the events. Videos for each part can be added to this folder (build-part1.mp4, build-part2.mp4, build-part3.mp4); until then each spot says Video coming soon.